Operating System
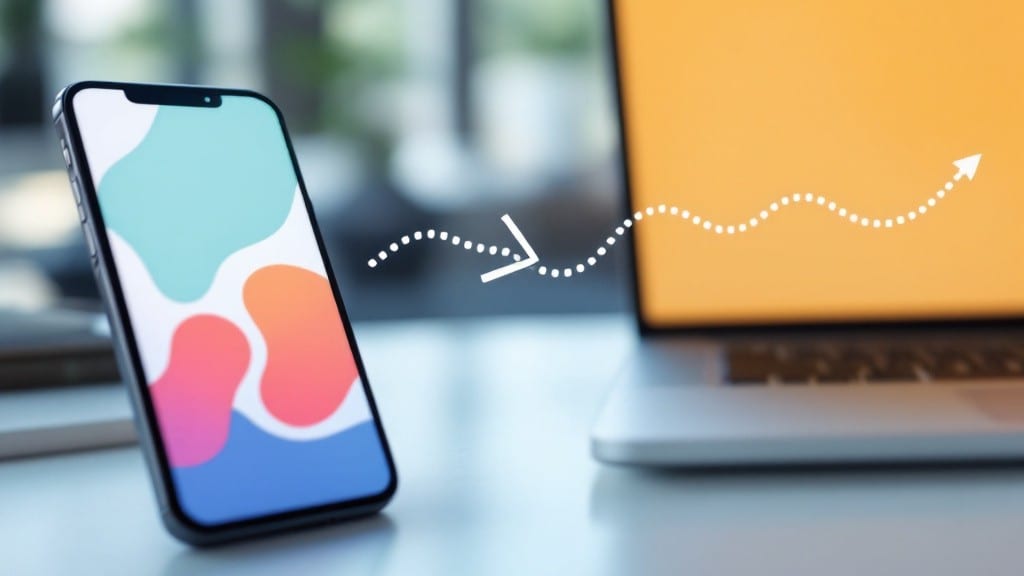
Transferring files from Android to PC used to mean fumbling with cables and waiting for drivers to install—until now. ✨ I’ve moved thousands of photos, videos, and documents this way over the years, and the wireless methods I use today take just seconds compared to the old plug-and-pray routine.
Whether you’re working with large media files or everyday documents, cutting the cord makes the process smoother, faster, and far less frustrating.
The beauty of modern Android is that you don’t need a single app to do this—your phone and PC already have built-in tools that handle the job.
We’ll cover three foolproof methods: USB cable transfer (the old standby, but still useful), Wi-Fi Direct (no apps required), and cloud sync (for when you’re on the go).
Each method has its strengths, and I’ll walk you through the exact steps, including troubleshooting for when things go sideways—because even the best-laid plans hit snags sometimes.
You’ll end up with a system that works reliably, whether you’re backing up vacation photos or moving work files between devices. The best part? No more digging through drawers for USB cables or waiting for Windows to finally recognize your phone.
Once you try wireless transfer, you’ll wonder how you ever lived without it. Let’s get started with the simplest method first—Wi-Fi Direct—and then we’ll tackle the others.
For the power users, I’ll also include a quick note on ADB commands for advanced file management, though this is optional and only needed if you’re comfortable with the command line. Most people won’t need it, but it’s good to know if you ever find yourself in a pinch.
And if you’re still using an older Android version or an older PC, don’t worry—I’ve got notes on compatibility quirks that’ll save you headaches down the road.
📚 In This Guide
- What you need
- Instructions
- Tips and common mistakes
- Wrapping up and next steps
What you need
- ● Android smartphone or tablet (Running Android 5.0 or higher for best compatibility)
- ● Windows or Mac PC (Windows 7/10/11 or macOS 10.12+ recommended)
- ● Stable Wi-Fi or Bluetooth connection (5GHz Wi-Fi or Bluetooth 4.0+ for faster speeds)
- ○ USB cable (optional but handy) – Only if you need to set up initial connections (e.g., for apps like Kies or Android File Transfer)
- ● File transfer apps (choose one): Send Anywhere (Wireless, no setup)
- ● Feem (Fast, cloud-based)
- ● Pushbullet (Syncs across devices)
- ● AirDroid (Remote access + file transfer)
- ● Built-in tools (no extra apps): Windows: Nearby Sharing (Windows 10/11)
- ● Mac: AirDrop (macOS 10.10+)
- ○ Optional but useful: USB OTG adapter (if transferring via USB later)
- ● Cloud storage apps (Google Drive, Dropbox) for backup transfers
Step-by-Step instructions for transferring files wirelessly from Android to PC
Here’s the fastest way to move files between your Android phone and PC without cables.
🔧 Step 1: Enable Nearby Share on Your Android Device
Open the Nearby Share app on your Android phone. It’s usually preinstalled—if not, download it from the Play Store. Tap the three-dot menu in the top-right corner and select Settings.
Under Device Name, give your phone a recognizable name, like "My Android." Set Visibility to Always visible to ensure your PC can detect it. Swipe up to confirm the settings are saved.
Here’s the thing—if you don’t see your phone listed on the PC later, double-check that Bluetooth and Wi-Fi are both enabled on your Android device. Nearby Share needs both to work smoothly.
💻 Step 2: Set Up Nearby Share on Your Windows PC
On your PC, open the Nearby Share app from the Start menu. If you don’t have it, download it from the Microsoft Store. Click the three-line menu in the top-left corner and select Settings.
Under Visibility, choose Visible to everyone nearby. This ensures your PC appears in the Android device list. If you’re on a work network, you might need to toggle Private Discovery to Off first.
Wait 5-10 seconds after enabling visibility—your PC should now appear in the Android Nearby Share list. If it doesn’t, restart the Nearby Share app on both devices.
⚡ Step 3: Send Files From Android to PC
On your Android phone, open the Files app and locate the file you want to transfer. Tap and hold the file, then select Share from the menu. Nearby Share should appear as an option—tap it.
Your PC’s name should appear in the list of available devices. Tap it to start the transfer. A confirmation prompt will appear on your PC—click Accept to receive the file.
You’ll see a progress bar on your phone. The transfer speed depends on your Wi-Fi signal strength and file size. For a 100MB photo, it takes 2-5 seconds; for a 1GB video, expect 30-60 seconds.
💡 Step 4: Verify and Organize Received Files
On your PC, open the Downloads folder or the location where Nearby Share saved the file. By default, it goes to C:\Users\[YourUsername]\Downloads\Nearby Share.
If the file doesn’t appear, check the Nearby Share app on your PC—it may have a notification about pending transfers. Click the notification to open the file’s location.
I always rename files right after transfer to keep my folders organized. For example, change "IMG_20240515_1234.jpg" to "VacationPic0515.jpg" for easier sorting later.
⏰ Step 5: Troubleshoot Common Issues
If your PC doesn’t appear on the Android device, restart both Nearby Share apps and ensure Bluetooth is on. Some routers block Nearby Share—try moving closer to the router or switching to a 5GHz Wi-Fi network if available.
For large files, split them into smaller chunks. Nearby Share struggles with files over 2GB. Use a cloud service like Google Drive for bigger transfers, then download them to your PC afterward.
Real talk: If the transfer fails, don’t panic. Simply retry the file—Nearby Share often works on the second attempt. For stubborn issues, clear the Nearby Share cache on both devices by uninstalling and reinstalling the app.
Tips & tricks for faster wireless file transfers
Wireless file transfers can be tricky, but these little-known tricks will help you avoid common pitfalls and speed up the process.
Optimize Your Network: Before starting a transfer, make sure both your Android device and PC are connected to a 5GHz Wi-Fi network instead of 2.4GHz. 5GHz offers faster speeds and less interference, which is especially helpful when transferring larger files like videos. If you're on a work network, you might need to temporarily disable Private Discovery in Nearby Share settings to ensure visibility. Trust me on this—it makes a noticeable difference with files over 500MB.
Device Naming Strategy: Give your Android device and PC clear, recognizable names in Step 1 and Step 2. I use "My Android" and "Work PC" so they're instantly identifiable in the device list. This prevents confusion when multiple devices are nearby, especially if you're using Nearby Share in shared spaces like offices or coffee shops. Pro tip: Avoid special characters or numbers—stick to simple alphanumeric names for smoother transfers.
File Preparation Tip: Before transferring, organize your files into logical folders on your Android device. Nearby Share transfers entire folders at once, but large folders can cause delays. For best results, keep individual file sizes under 2GB—anything larger will struggle with Nearby Share. I always create a temporary "Transfer" folder on my phone and move only the files I need to send, then delete it afterward to keep things tidy. This approach saves time during both the transfer and cleanup phases.
Post-Transfer Organization: After files arrive on your PC, take an extra 60 seconds to organize them immediately. I create a dedicated "Nearby Share" folder in my Downloads directory and use Windows' built-in "Rename" feature (F2 key) to standardize filenames. For example, converting "IMG20240515_1234.jpg" to "VacationColorado_0515.jpg" makes future searches effortless. This small habit saves hours of frustration when you need to find specific files later.
Pro Tips for Transfer Files From Android To Pc
- Wireless file transfers can be tricky, but these little-known tricks will help you avoid common pitfalls and speed up the process.
- Optimize Your Network: Before starting a transfer, make sure both your Android device and PC are connected to a 5GHz Wi-Fi network instead of 2.4GHz.
- Device Naming Strategy: Give your Android device and PC clear, recognizable names in Step 1 and Step 2.
Frequently asked questions
Got questions about transferring files from your Android device to your PC? You’re not alone! Here are some of the most common concerns—and their quick solutions—to make the process smoother than ever.
How long does it take to transfer files wirelessly?
Transfer times vary based on file size, your Wi-Fi speed, and device performance. Smaller files (photos, docs) transfer in seconds, while large videos or games may take a few minutes. Pro tip: Close background apps to boost speed!
Can I transfer files without an internet connection?
Yes! If you’re using a USB cable (MTP mode), no internet is needed. For wireless methods like Nearby Share or Google Drive, ensure both devices are on the same Wi-Fi network. Bluetooth is slower but works offline too!
Why won’t my PC detect my Android device?
Try these fixes: Enable USB Debugging in Developer Options, switch USB modes (MTP/PTP), or update your phone’s OS and PC drivers. If using Wi-Fi, ensure both devices are connected to the same network. Still stuck? Restart both devices!
What’s the fastest way to transfer large files?
For speed, use a USB cable (MTP mode) or Wi-Fi Direct (if supported). Cloud services like Google Drive or Dropbox work well but may have size limits. Avoid Bluetooth for big files—it’s too slow!
Can I transfer files from Android to PC without rooting?
No rooting is needed. Use built-in methods like Nearby Share, USB cable transfer, or apps like Send Anywhere. Even third-party tools like AirDroid work without root access. Easy peasy!
Bonus Tip: Always back up important files before transferring!
Accidents happen—like interrupted transfers or corrupted files. Use cloud storage or an external drive as a safety net. Better safe than sorry!
Wrapping up and next steps
Transferring files from your Android device to a PC doesn’t have to be a hassle—thanks to wireless methods, you can save time, reduce clutter, and keep things seamless.
Whether you’re using built-in tools like Nearby Share, cloud storage, or third-party apps, the key is choosing the method that fits your needs. With just a few taps and clicks, you’ll have your photos, videos, and documents ready on your PC in no time!
Ready to upgrade your workflow? Try one of these methods today and experience the freedom of wireless file transfers! 🚀