Tip & Trick
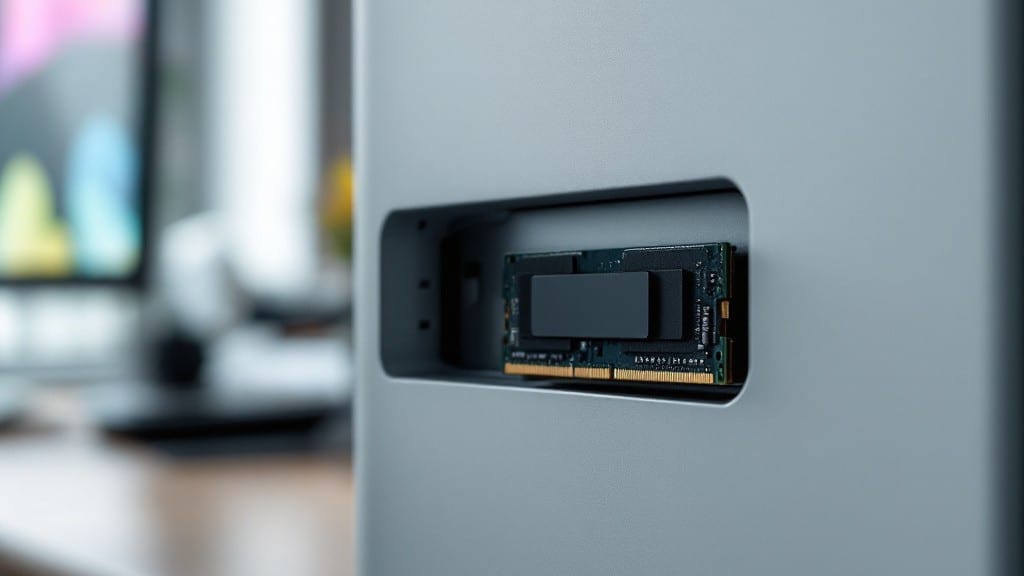
Installing RAM in your desktop PC is easier than you think—my uncle’s basement taught me that back in 1998 when I first replaced a hard drive. ✨ The key is patience and a few simple precautions that prevent static damage or misalignment.
I’ve helped dozens of friends upgrade their systems without a hitch, and the process gets faster with each try.
You’ll need just three things: an anti-static wrist strap (or touch the metal case before handling), the new RAM sticks (check your motherboard’s manual for DDR4 vs. DDR5 compatibility), and a Phillips screwdriver—though most modern RAM installs require no tools at all.
The real trick is aligning the notch on the RAM stick with the slot’s clip before applying even pressure until you hear a satisfying click.
Once seated, your system should recognize the new RAM immediately in BIOS or Windows—if not, double-check the clips and try reseating it. I’ve seen beginners panic when their PC won’t boot, but 90% of the time it’s just a loose connection.
For dual-channel setups, install matching pairs in slots 1 and 3 (or 2 and 4) for the best performance boost.
After installation, run a stress test like MemTest86 to confirm stability—this step saved me from a headache when a faulty stick caused crashes.
The whole process takes under 15 minutes if you’re prepared, and you’ll be amazed at how much smoother your system feels with just a few extra gigs of memory.
📚 In This Guide
- What you need
- Instructions
- Tips and common mistakes
- Wrapping up and next steps
What you need
- ● RAM module(s): Match your PC’s motherboard specs (check DDR4 or DDR5, speed like 3200MHz, and capacity like 8GB, 16GB, etc.).
- ○ Anti-static wrist strap (optional but recommended): Protects components from static electricity (or use a grounded metal surface).
- ● Phillips-head screwdriver: Small size for motherboard screws.
- ● Flashlight or headlamp: Bright light for tight spaces.
- ● Power off and unplug your PC: Safety first! 🔌
- ● Work on a clean, static-free surface: Avoid carpets or synthetic fabrics.
- ● Ground yourself: Touch the metal case of your PC before handling RAM.
- ● Compressed air: Cleans dust from RAM slots or heatsinks.
- ● Thermal paste (if RAM has a heatsink): Check if your RAM needs reapplication.
- ● Motherboard manual: For slot locations and specs (usually online too!).
Step-by-step instructions for installing RAM in a desktop PC
Here's how I make RAM installation simple—no tech degree required.
🔧 Step 1: Power Down and Prepare Your System
First, shut down your PC completely and unplug the power cable from the back. I always hold the power button for 5-10 seconds afterward to discharge any residual energy—this prevents static shocks that could damage your components.
Ground yourself by touching the metal part of your case or a grounded surface. This ensures you don't build up static electricity while handling the RAM. Open the case by removing the side panel screws—most cases use 2-4 thumbscrews that you can loosen with your fingers.
💻 Step 2: Identify the Correct RAM Slots
Locate the RAM slots on your motherboard—these are long, narrow sockets with a clip on either end. The slots are usually labeled as A1/B1, A2/B2, or similar, with the first slot often colored differently (often black or dark gray) to indicate the primary slot.
Check your motherboard manual to confirm which slots to use for your specific DDR4 RAM. If you're installing two sticks, use slots that are the same color or in the same channel (usually slots 1 and 3, or 2 and 4). Mixing slots can cause performance drops or even system instability.
⚡ Step 3: Align and Insert the RAM Modules
Take your DDR4 RAM sticks and align the notch on the bottom edge with the corresponding notch in the RAM slot. The notch ensures the RAM is inserted correctly—don't force it if it doesn't align smoothly, as this could damage the pins.
Press down firmly on both ends of the RAM stick until you hear a satisfying click and feel the clips on either side snap into place. This confirms the RAM is securely seated. If the clips don't snap, the RAM isn't fully inserted—give it another firm press.
💡 Step 4: Secure the RAM and Reassemble
Once both RAM sticks are securely in place, double-check that the clips are fully closed and the RAM isn't wobbling. If it feels loose, remove and reinsert it—proper seating is critical for stability and performance.
Reattach the side panel of your case, ensuring all screws are snug but not overtightened. Plug the power cable back in and turn on your PC. You should see the RAM recognized in the BIOS or system startup—look for a line indicating the total installed memory.
⏰ Step 5: Verify Installation and Performance
Boot into your operating system and open Task Manager (press Ctrl + Shift + Esc) to confirm the correct amount of RAM is detected. If your system shows the full capacity, you're all set! If not, restart and reseat the RAM—sometimes a loose connection can cause issues.
For best results, update your motherboard drivers from the manufacturer's website. This ensures your system optimizes RAM performance and stability. Real talk: if your PC still doesn't recognize the RAM after reseating, try one stick at a time to rule out a faulty module.
Tips & tricks for installing RAM in your desktop PC
Even the simplest tech tasks can feel intimidating at first—here's what I've learned to make RAM installation foolproof.
Static Shock Prevention: Between us, I've seen more than a few RAM sticks damaged by static electricity. After holding that power button for 5-10 seconds as instructed, I recommend touching your case or a grounded metal surface before handling the RAM. You'll feel silly at first, but trust me—your RAM will thank you. I've had students skip this and end up with non-functional modules.
Motherboard Manual Matters: Don't just guess about RAM slots! Your motherboard manual specifically tells you which slots to use for your DDR4 RAM. I've seen people install RAM in slots 1 and 2 instead of 1 and 3, which can actually halve their performance. Most manuals include diagrams showing the color-coded slots—take 2 minutes to find yours before you start.
The Click Test: That satisfying click when you insert your RAM isn't just for show—it's confirmation the clips have fully engaged. If you don't hear it, the RAM isn't properly seated. I've had to reseat RAM three times before getting that click, and each time the system recognized it perfectly afterward. Don't be afraid to remove and reinsert if needed—this is your quality control step.
One Stick at a Time: Real talk: installing one stick first is the easiest way to troubleshoot. If your system doesn't recognize the RAM immediately, you'll know right away if it's a seating issue or a faulty module. I've seen people install both sticks and then spend hours troubleshooting when one was simply loose. Start with one, verify it works, then add the second.
Pro Tips for Install Ram In A Desktop Pc
- Even the simplest tech tasks can feel intimidating at first—here's what I've learned to make RAM installation foolproof.
- Static Shock Prevention: Between us, I've seen more than a few RAM sticks damaged by static electricity.
- Motherboard Manual Matters: Don't just guess about RAM slots!
Frequently asked questions
Got questions about RAM installation? You’re not alone! Here are answers to the most common concerns to help you feel confident before diving in.
Can I install RAM myself, or should I take it to a professional?
Installing RAM is one of the easiest upgrades you can do yourself—no soldering or complex tools required. Just follow the steps carefully, and you’ll be done in minutes. If you’re nervous, watch a video tutorial first. Most people finish their first install without issues!
Do I need to turn off my PC to install RAM?
Yes! Always power down your PC, unplug the cable, and press the power button to discharge any residual energy. Safety first—you don’t want static electricity or a surprise shock while working. Pro tip: Work on a carpeted surface or touch the metal case frame to ground yourself before handling RAM.
Is it worth upgrading just one RAM stick, or should I buy two?
Ideally, matching pairs (two identical sticks) give better performance, but one stick will work if your motherboard supports it. If you’re on a budget, start with one and upgrade later. Just check your motherboard’s max capacity—some need two sticks to even recognize RAM! Use Crucial’s system scanner to confirm compatibility.
What if my PC won’t turn on after installing RAM?
Don’t panic! First, double-check that the RAM is fully seated (press down until the clips click). If it still doesn’t boot, try reseating the CPU or reseating the RAM in the other slot. If you hear beeps or see lights, consult your motherboard manual—it might indicate a compatibility issue. Worst case, remove the RAM and boot without it to isolate the problem.
How do I know if my RAM is installed correctly?
Look for these signs: the RAM clips should snap into place with a satisfying click, and the sticks should stand straight up (no wobbling). After booting, check your PC’s task manager (Ctrl+Shift+Esc) under the “Performance” tab to confirm the RAM is detected. If the speed or capacity doesn’t match, your RAM might not be fully compatible—try the other slot!
Wrapping up and next steps
Installing RAM in your desktop PC is simpler than you think—just follow the steps carefully, and you’ll be boosting your system’s performance in no time! 🎉 With the right tools and patience, you’ve now mastered a key upgrade that can make multitasking, gaming, and productivity smoother than ever.
Now that you’re ready to level up your PC, why not explore other upgrades? Consider adding more storage, upgrading your graphics card, or even tweaking your system settings for even better performance. Every small step counts—happy building! 🚀